There’s something comforting about crafting with simple ingredients you already have in your pantry. I still remember the first time my kids and I made salt dough together—it was a rainy weekend, and we needed a fun project that didn’t require baking or a run to the store. That’s when this salt dough no bake recipe became our go‑to. It only takes flour, salt, and water to get started, and the results can be turned into everything from handprint ornaments to personalized tags. Whether you’re looking for a hands-on activity for your little ones or want to make heartfelt DIY gifts, this recipe delivers easy fun and lasting memories—all without turning on the oven.

Salt Dough No Bake Recipe
Equipment
- mixing bowl
- measuring cups
- mixing spoon
- rolling pin optional for flattening
- parchment paper or silicone mat for drying
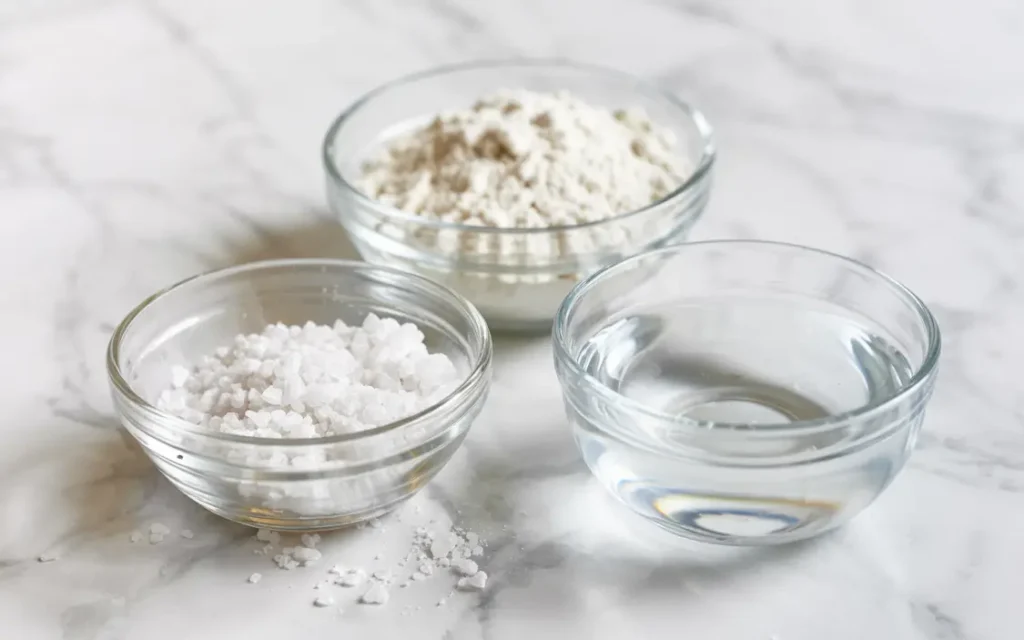
Ingredients
- 2 cups all-purpose flour
- 1 cup fine salt
- 0.75 cup water (add gradually)
Instructions
- In a mixing bowl, combine 2 cups flour and 1 cup salt. Mix well to combine.
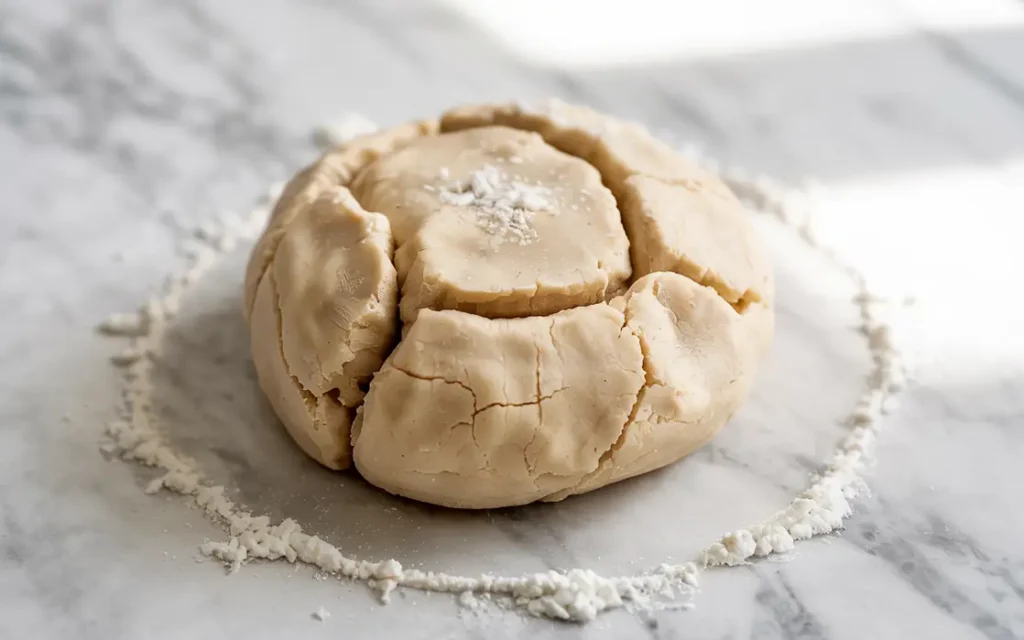
- Gradually add water while stirring until a dough forms. Adjust with more flour or water as needed for consistency.
- Once the dough is smooth and pliable, roll it out or shape as desired. Cut out shapes, press handprints, or form small figures.
- Place pieces on parchment paper or a silicone mat and allow to air-dry. Flip pieces after 12–24 hours to ensure even drying. Total drying time: 24–72 hours depending on thickness.
- Decorate your dried creations with acrylic paints, markers, or glitter glue. Seal with non-toxic varnish for preservation.
Notes
Nutrition
Table of Contents
Table of Contents
The Story Behind the Salt Dough No Bake Recipe
I first discovered this salt dough no bake recipe on a rainy afternoon
I still vividly recall that rainy Saturday when my kids kept asking, “What can we make?” I had flour, salt, and water—and no desire to turn on the oven. That’s when we invented our own salt dough no bake recipe. Within minutes, my kids were cutting out shapes and pressing their little hands into soft dough. The dough dried beautifully on the kitchen counter over a day or two, and before we knew it, we had handcrafted ornaments and tags to treasure. This simple salt dough no bake recipe quickly became our go‑to craft for home projects and simple gifts.
Why this salt dough no bake recipe became our favorite
I love how foolproof this recipe is: no oven, no fuss, just mixing and waiting. It’s perfect for involving young children safely, since there’s no heat involved. The ingredients are pantry staples, and cleanup is unbelievably easy—just wipe a cloth over the table when the dough’s stored. In our crafts category on the blog, you’ll find more fun ideas to pair with this recipe, while our kids-activities section shows how to turn these dough shapes into personalized keepsakes your family will love.
Easy No‑Bake Salt Dough Basics
Why this no-bake version of salt dough works beautifully
I prefer the no-bake salt dough version because you don’t need an oven—just let it air-dry. The flour and salt mixture dries firm in one or two days, depending on humidity and thickness. Kids can cut shapes, press imprints, or roll little balls without any risk. It’s perfect for crafting sessions that happen right at the kitchen table.
The simple ingredient ratio for perfect dough
Our go-to ratio is plain: 2 parts flour to 1 part fine salt, with just enough water to bring the dough together. Stir dry ingredients first, then gradually add water until you have a smooth, pliable dough that sticks together but doesn’t feel wet. Too much water? Add a little more flour. Too dry? A few drops more water does the trick.
Decorating & Drying Tips for a Salt Dough No Bake Recipe
How to dry the dough without baking
To dry your creations, lay them flat on parchment or a silicone mat in a single layer. Turn each piece halfway through drying so both sides air out evenly. Thicker pieces may take up to two days, depending on humidity. Just keep them in a well-ventilated space—no heat needed.
Creative decorating ideas for no-bake salt dough crafts
Once completely dry, you can paint your pieces using acrylic paints, watercolor pencils, or even metallic markers for shimmer. If you want a natural finish, brush on a clear sealant like non-toxic varnish or mix water-based glue with a little glitter. You can also embed beads or twine before air-drying for texture or hanging—simple touches that transform plain shapes into unique gifts.

Crafting Ideas Using Salt Dough No Bake Recipe
Fun projects kids and adults can enjoy
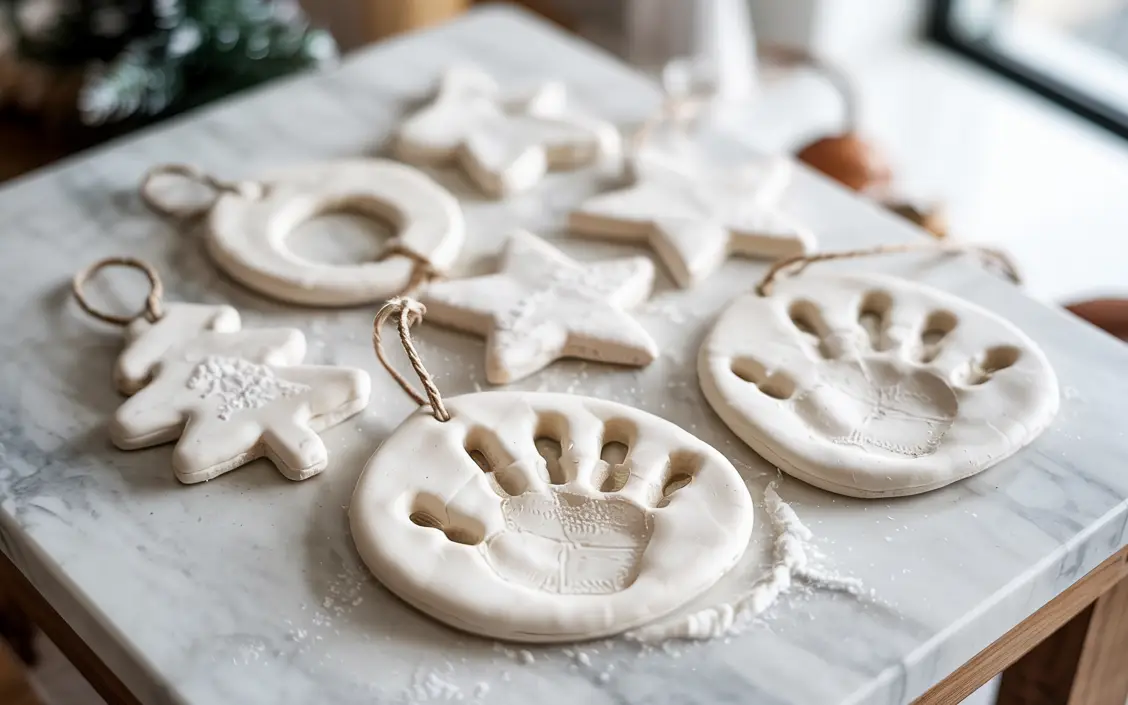
One of our favorite projects is making handprint keepsakes. Simply roll the dough, press a handprint, and use a straw to create a hanging hole. You can also shape holiday ornaments, coasters, or tags for gifts. On our holiday recipes page, you’ll find festive ideas to match these cute crafts. For seasonal flair, add cinnamon or food coloring before shaping.
How to store and preserve your salt dough creations
After your items are completely dry and decorated, store them in a dry place. If sealed with a protective coat, they’ll last years. Wrap them in tissue paper if you’re storing ornaments, and keep them in an airtight container. For more crafty storage solutions, visit our kitchen organization posts where I also show how I store seasonal supplies and finished projects.
Frequently Asked Questions
Can I make salt dough without baking it?
Yes! You can skip the oven completely by letting your salt dough creations air-dry for 24 to 48 hours. Make sure to flip them halfway through to ensure both sides dry evenly. This makes the process safer for kids and more convenient if you don’t want to use heat.
How long does salt dough take to dry without baking?
Drying time depends on thickness and humidity, but most items will dry in 1 to 3 days. Thinner pieces like ornaments dry faster, while thicker handprints might take longer. Always allow extra time if your home is more humid.
Does no-bake salt dough last?
Absolutely. If you allow the dough to fully air-dry and then seal it with paint or varnish, no-bake salt dough items can last for years. Keep them away from moisture and store them in a dry container.
Can I color the salt dough before drying?
Yes, you can add food coloring or powdered spices like cinnamon before kneading for a fun twist. This creates a tinted dough you can shape and dry as usual—perfect for themed projects or holidays.
Conclusion
This salt dough no bake recipe is the perfect blend of creativity, simplicity, and family fun. Whether you’re making ornaments, handprints, or little gift tags, you don’t need any fancy tools or even an oven. Just flour, salt, and water—and a little patience while it dries. We’ve used this salt dough no bake recipe countless times at home, especially for holiday crafts and rainy day activities. It’s safe for kids, budget-friendly, and incredibly easy to customize. Once you try this salt dough no bake recipe, it’ll likely become a regular favorite for your DIY projects. Let the dough dry naturally, decorate it however you like, and you’ll have something personal and lasting every time.